Saturday, 8 June 2013
Mini Junk Journal mark 2
My directorial debut. This is the mini I blogged earlier plus a second one I made for my daughters friend.

Mini Junk Journal
This was a real quickie junk journal made from patterned papers, envelopes and tags, along with a few die cuts - inspired by Michelle at The Paper Addiction. Mine measures 31/4" x 41/2" so it's a real mini mini, but with plenty of space for notes and whatnot.


Friday, 7 June 2013
Burlesque Wench
Buoyed by my finished Shabby Wench, I dug out a second mannequin last weekend. I wanted to try stamping onto tissue paper for this one rather than book page - it turned out to be a much better finish as the tissue is much more mold-able. When the tissue was dry, I inked it with Victorian Velvet DI and then painted Rock Candy Crackle all over. Once dried, I painted on diluted Black Soot to highlight the cracks. During the drying time, I made my own patterned paper and die cut it to make a ton of paper flowers; whilst the flowers turned out really pretty, much of the detail of the paper has been lost and I might as well have just inked the paper for such small die cuts.


Before


Monday, 3 June 2013
So inspired
Yesterday was a very productive day for me. Whilst I had my morning brew, I had my usual internet mooch and found lushness at Ranger. So much inspiration there, but I was really taken with Tammy Tutterow's fused glass technique. I loved it, but I'm going to have another go as mine turned out much too dark and lack the definition that Tammy's have.




As you can tell, they're really tiny so next time I'll scale up to help with definition.
I was also taken with Lisa's pliable beeswax technique. Lisa used a texture tread, which I don't have (yet!) so I thought this was something to try at a later date, but then I decided to give it a go on an unmounted grey rubber stamp - what's the worse that could happen right? Well it worked to a degree - my UTEE blew everywhere due to my eagerness to play and I certainly think the treads are a better option than a stamp, but I'm still pleased with the result. I inked my stamp with versamark and then brushed on some mica powder to help it release. Again, this is something I will try again and experiment.

The wax technique became part of a mixed media canvas. I started with a salted inky background, added dragonflies stamped onto tissue paper which I stuck down with brushed beeswax. I stamped into a thicker area of wax and highlighted this bit with mica. Then I die cut some metal drinks cans for the flourish and flowers - the flowers I then inked with alcohol inks. Finally, I added my pliable beeswax technique plaque.


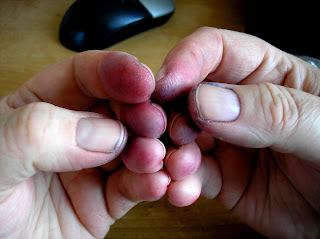
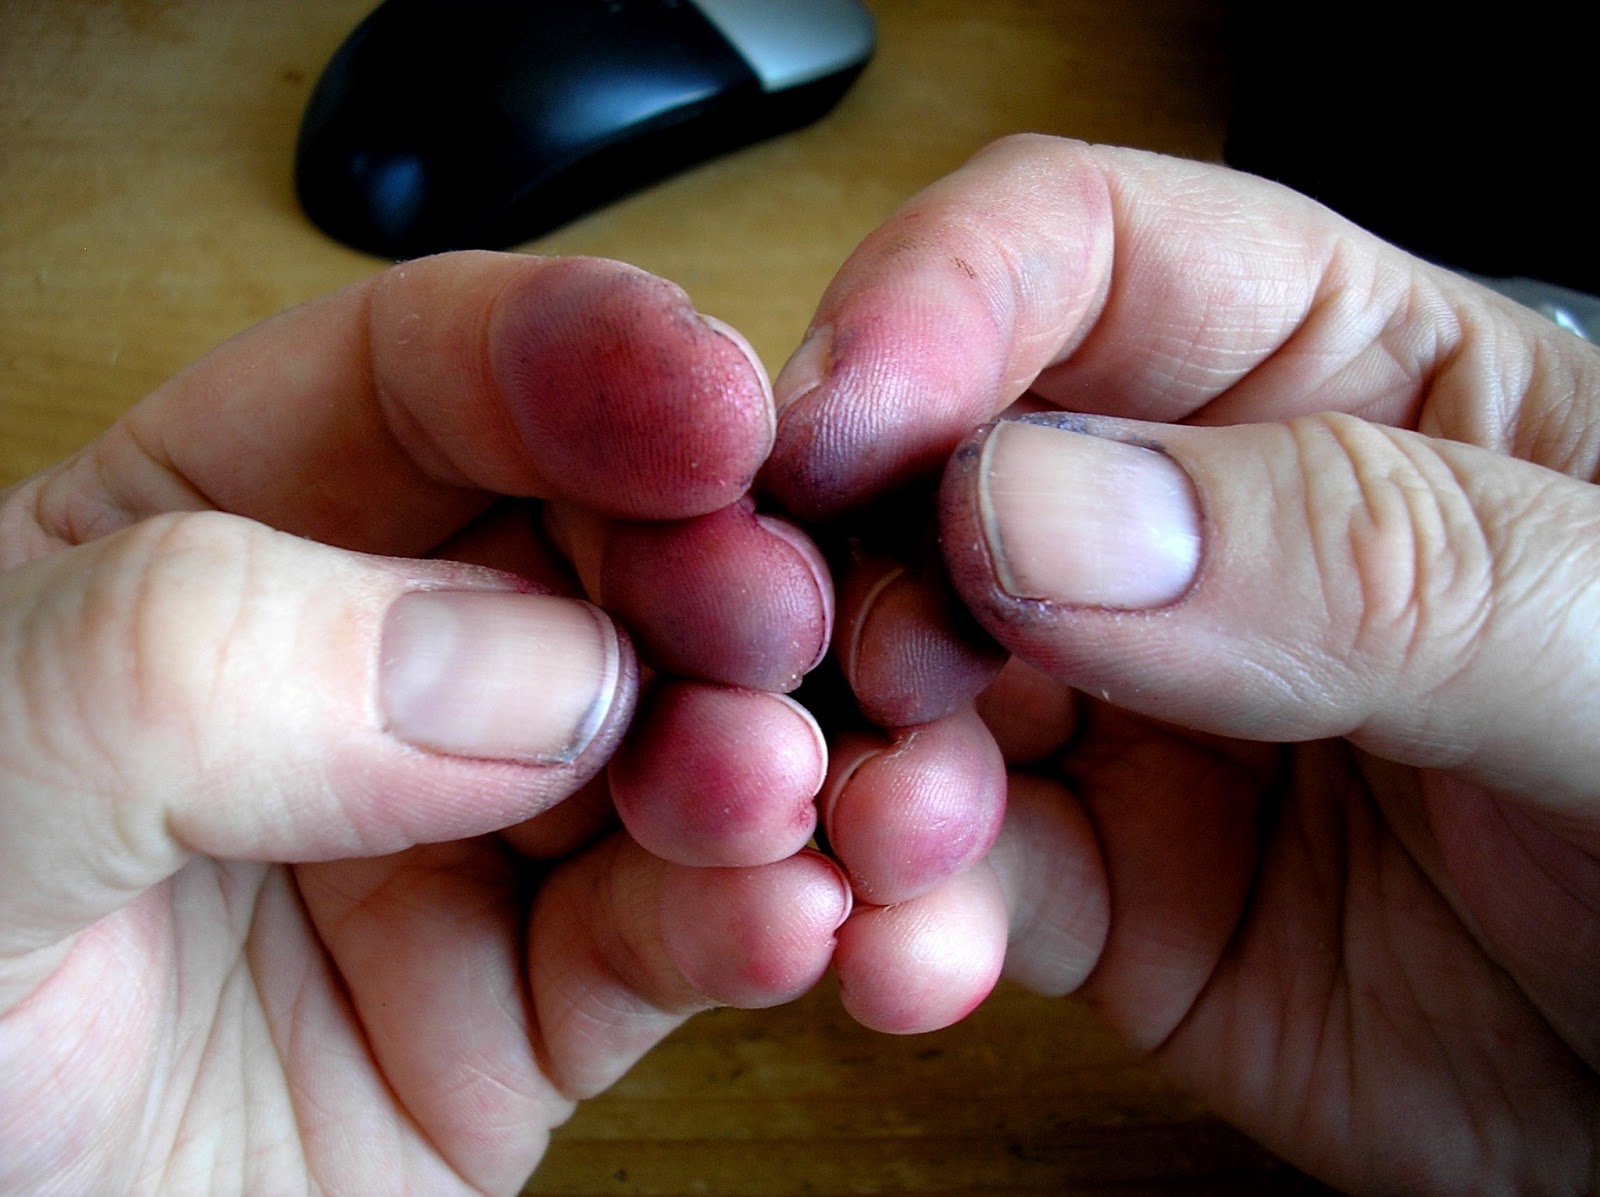
So I ended the day creatively satisfied as evidenced by my filthy mitts - if I needed another way of measuring how creative I've been it would surely be by how mucky I get. If I'm not stained and glued up, I mustn't have been trying hard enough!
Thursday, 30 May 2013
Shabby Wench
I've had this mannequin hanging around for a couple of years now - when I bought it, she was covered in satin and quite tacky bling, so I rescued her, stripped off the tacky and then abandoned her. About three months ago I covered her in ripped Macbeth pages and abandoned her yet again. Partly because I was sick of her falling off the shelf all the time and because I just wanted to get messy, I went at her yesterday with all sorts of inks, mists, glazes and such - mission accomplished, I got mucky and so did she. I think she has something of the Degas Little Dancer about her - without the £13 million pricetag!


Wednesday, 29 May 2013
Inkyness
Yesterday was wet and miserable here, but rather than vegging in front of the box all day (as we did on Monday, watching back to back episodes of my current favourite programme Duck Dynasty) I decided to get crafty. I had nothing in mind at all, just a plain tag, so I got out some dies and grungepaper and let my project evolve.
My background is an embossed french script stamp, I then inked the tag with pickled raspberry, seedless preserves, and tumbled glass, masked, coloured and stamped. I cut the dressform body from adhesive foil tape and alcohol inked after embossing it. The wings were an image transfer onto grungepaper which I inked and crackled.


My background is an embossed french script stamp, I then inked the tag with pickled raspberry, seedless preserves, and tumbled glass, masked, coloured and stamped. I cut the dressform body from adhesive foil tape and alcohol inked after embossing it. The wings were an image transfer onto grungepaper which I inked and crackled.

A couple of weeks ago I had a play with some diecut mountboard bookplates,. making antique metal effects with various embossing powders, so I now have a small stock of bookplates as embellishments.

My flowers and leaves are cut from old book pages - Romeo and Juliet to be exact.

Seam binding inked to match, scrunched and dried.
By the time I'd finished I was thoroughly inked myself - nothing new there.
Wednesday, 22 May 2013
First youtube
I've been threatening to make youtubes of my craftynesses for ages now and never seem to get anywhere. I tried to make an actual video, but lost the will, so instead, I've made a slide show type thingy; my first attempt had banners with descriptions, but the text extended beyond the frame (useless!) so I deleted that and redid it without. Well I've looked and looked but can't figure out how to add a caption - it must be super simples, but I haven't cracked it yet.
Anyhoo, my first youtube is now posted and it's gone viral - eight, yes, eight peeps have watched it!!! I made this mini for my sister's birthday - which is today Happy Birthday Heather. I used Steamtown Spring from Ephemera's Vintage Garden. For the cover, I modpodged the cover liner from the kit onto both sides of a piece of grungepaper. All the pages have top and side loading pockets for tags - the top loading tags are months of the year for recording important dates, and the side loading ones are for addresses. I added a magnetic closure flap pocket to the inside front cover and a top loading pocket on the back cover.

Anyhoo, my first youtube is now posted and it's gone viral - eight, yes, eight peeps have watched it!!! I made this mini for my sister's birthday - which is today Happy Birthday Heather. I used Steamtown Spring from Ephemera's Vintage Garden. For the cover, I modpodged the cover liner from the kit onto both sides of a piece of grungepaper. All the pages have top and side loading pockets for tags - the top loading tags are months of the year for recording important dates, and the side loading ones are for addresses. I added a magnetic closure flap pocket to the inside front cover and a top loading pocket on the back cover.
I also made a matching card

I'm now working on a couple of junk journals from this kit - I made one a couple of weeks ago but my daughter appropriated it!
Subscribe to:
Posts (Atom)