Thursday, 26 September 2013

Creative Play

It seems like I've spent the last couple of weeks having all sorts of fun with various bits and pieces without actually making many finished 'things'. One of the main things I've been playing with are my new Dylusions inks - blimey are they fab! They were one of those things I didn't need until I saw a youtube, (I really think that phenomenon should have a name as I'm sure I'm not the only victim) so I asked for a few for my birthday, loved them and had to have all the colours! Now I have a whole pile of backgrounds waiting to be transformed.
For now, I'm sharing a small canvas, plus my Tim Holtz September tag.


Monday, 9 September 2013

18

Only last week, we brought our little bundle of awesome home from special care - she was 7 weeks early and clearly could wait no longer to get showing the world what for. Well some kind of time warp has occurred and she's now 18 and still being awesome - as you can tell I'm totally unbiased. To commemorate the auspicious occasion, I wanted to create something very different, something that reflects Moll and says something of who she is.

After watching amybutterflykisses12 Youtube from CHA, I really wanted to produce something in that vein, and it actually turned out just as I had it in my head - it's just Moll!


Saturday, 31 August 2013

Making your mind up

Some time ago, I wanted to do a black and red canvas, so I too a white canvas, painted it with black gesso and a layer of black paint....then I changed my mind and wanted it white again. Well the black was a bugger to cover over, took several coats of paint, getting rid of the canvas texture in the process, but there it was covered......then I changed my mind again. I wanted texture! so I covered it in scrunched tissue - tissue would've covered the black quicker and cheaper than all that white paint! So now I had texture, but added more in the form of texture paste and I wanted colour. I went with ochre, but found it flat, so once again I painted it! Indecisive? Moi? I'm not sure.

Anyway, I'm done messing about with it now, I highlighted the paste with black rub'n'buff and added my 'topper'. This was also an unfinished piece, just because I was having a play and making backgrounds ready for inspiration to hit. I got as far as putting clear texture paste through a stencil onto book page and sticking it to corrugated card. I used DI to colour the book page, then added string and a glassene flower. I really roughed up the edges and stuck the corrugated to a deeply crackled board.

Tuesday, 27 August 2013

Take these chains from my heart

I love it when a plan comes together, and this project did just that. I bought the mask after seeing Ali demo it on TV, then on my first trip to the craft shop of the weekend, I found the frame. I inked the frame with Chipped Sapphire DI, added clear UTEE then sprayed over Cosmic Shimmer. When reheated, the mica in the shimmer sinks into the UTEE leaving a lovely mottled texture. Next I added texture paste through the mask - the paste didn't take to the base evenly but I loved the distressed look this gave. Once the paste was dry, I reapplied the stencil and went over with Perfect Medium and Denim embossing powder - this then filled it the missing textured pattern and added to the distressed look.

Also over the weekend I made my own paper by putting wet toilet roll through an embossing folder. Once dry, I inked with Chipped Sapphire and sealed it with clear embossing powder before adding it to the frame back.

The heart is paper mache, triple embossed in gold, then stamped whilst still molten. I wrapped some chain around, added the charm and keys before sticking down. To highlight the textures, I added a little gilding wax.


More Carnival glass

I've had a very productive Bank Holiday Weekend. After my first trip to the craft shop and subsequent Carnival glass creations, I went back for more. This time I got two more colours of cosmic Shimmer Fusible Film and five different embossing powders. This time, for the bases I've used memory glass and  ATC style MDF blanks, but the method is the same as in my previous post. Using these as bases is so much better, since the mountboard ones have bowed when they've cooled down - all's not lost though, as I've flattened them and cracked the UTEE for a different effect.


These first five are on the MDF blanks. I've never used these before, but I certainly will do so again as they're perfect for repeated heating and take inks really well. To finish the edges, I've added faux solder - I melted UTEE in my melt pot and dipped the edges.


These four are on Memory Glass - I was a little worried that the glass wouldn't take the repeated heating, but they were fine. With all these samples, I've used the melt pot rather than the heat gun to melt the powders. I inked the blank/glass with Perfect Medium, added the powder and then placed them on a Project Craft Sheet and into the melt pot with the lid on. Again, I added the faux solder, but I'm going to get Memory Frames for these to turn them into jewellery pieces.

Saturday, 24 August 2013

Carnivale

For the past few days, I've been having a play with some new techniques and seeing where my experimentation takes me. After watching a youtube by Rach0113 on faux carnival / dichroic glass, I couldn't wait to crack on! Could I find my fantasy film? Could I heck. No doubt it will surface when I'm unable to find something else. Take two, after a visit to the craft shop. The youtube I saw did the technique on memory glass, but since she made it opaque with the embossing powder, she made hers into a piece of jewellery so it needed to be on something durable, I thought I'd use board instead.


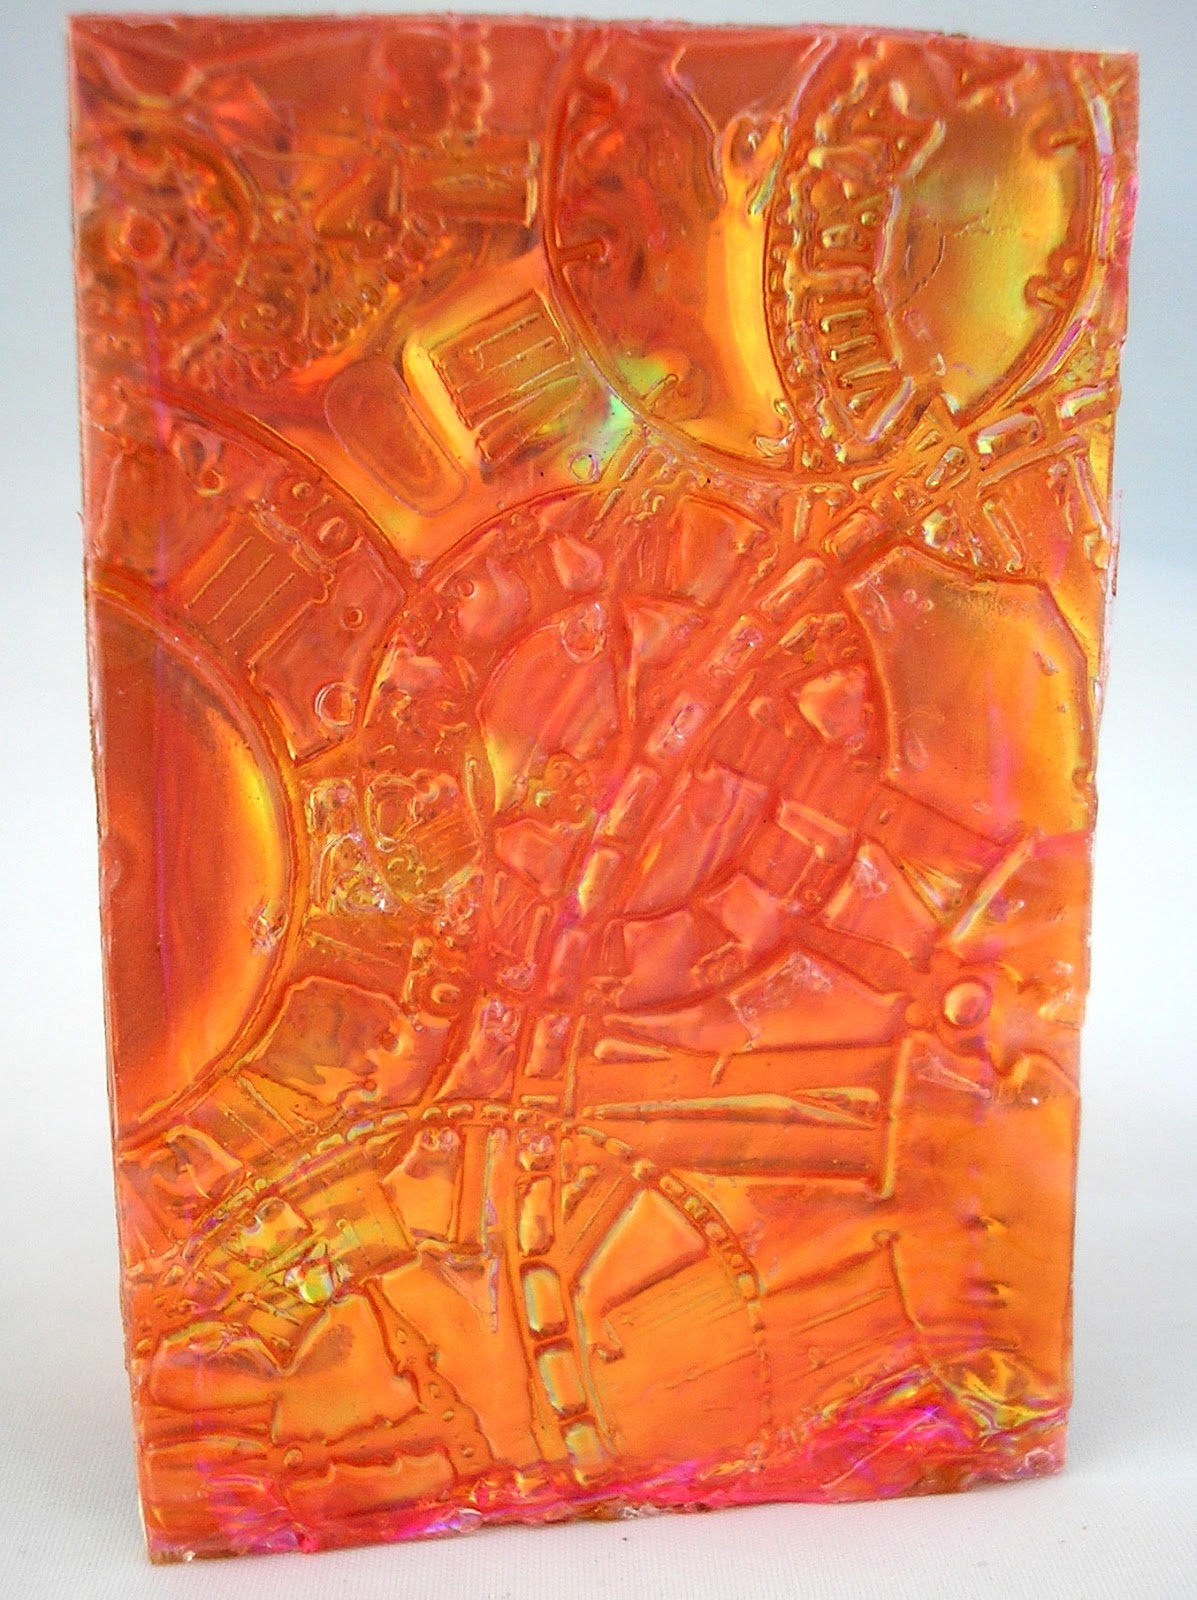
This is my first attempt - two layers of Cosmic Shimmer (CS) Lapis Orange Lustre, one layer of CS Autumn Lustre, scrunched CS glitter film then a couple of layers of UTEE. Then I remelted it and stamped with Versamark - in the video, she used a coloured embossing ink, but I wanted a more carnival glass look.


This time, I used CS UTEE in Bronze Lustre, again on board. I didn't scrunch the film this time and I used two layers rather than just one, followed by UTEE. This is my favorite, it's really even, has the best iridescence and looks the most like carnival glass.


The film is cut to overhang the board, and as you stamp the piece, UTEE oozes over the sides. I cut the excess off, cut it into small pieces and remelted it onto another board covered in three coats of Autumn Lustre. This time I didn't add more UTEE, just stamped the molten enamel. Whilst it's not as 'realistic' as the previous sample, it is interestingly textural and will make a great background.

I will use the top and bottom samples as the basis for something else, but the middle one may well become an embellishment in it's own right.