Tuesday 30 June 2015

Double frame

My final project for this month for Creative Expressions today.


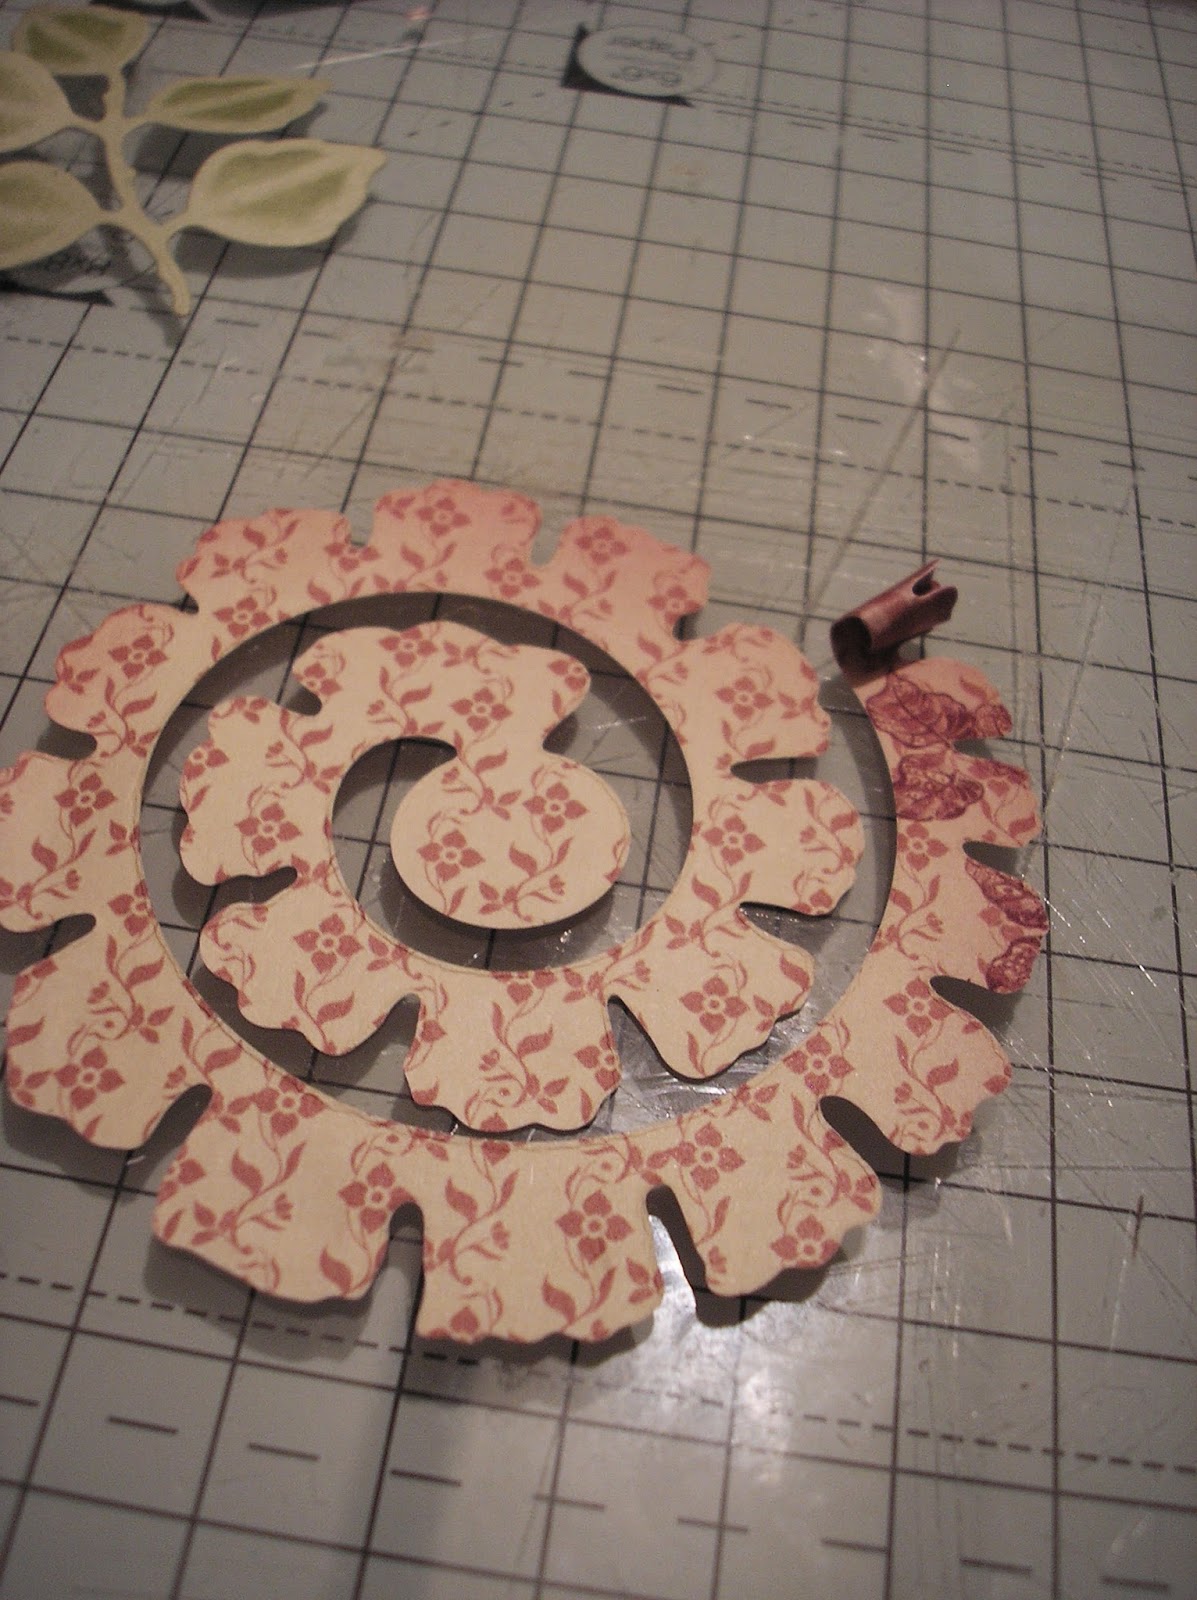
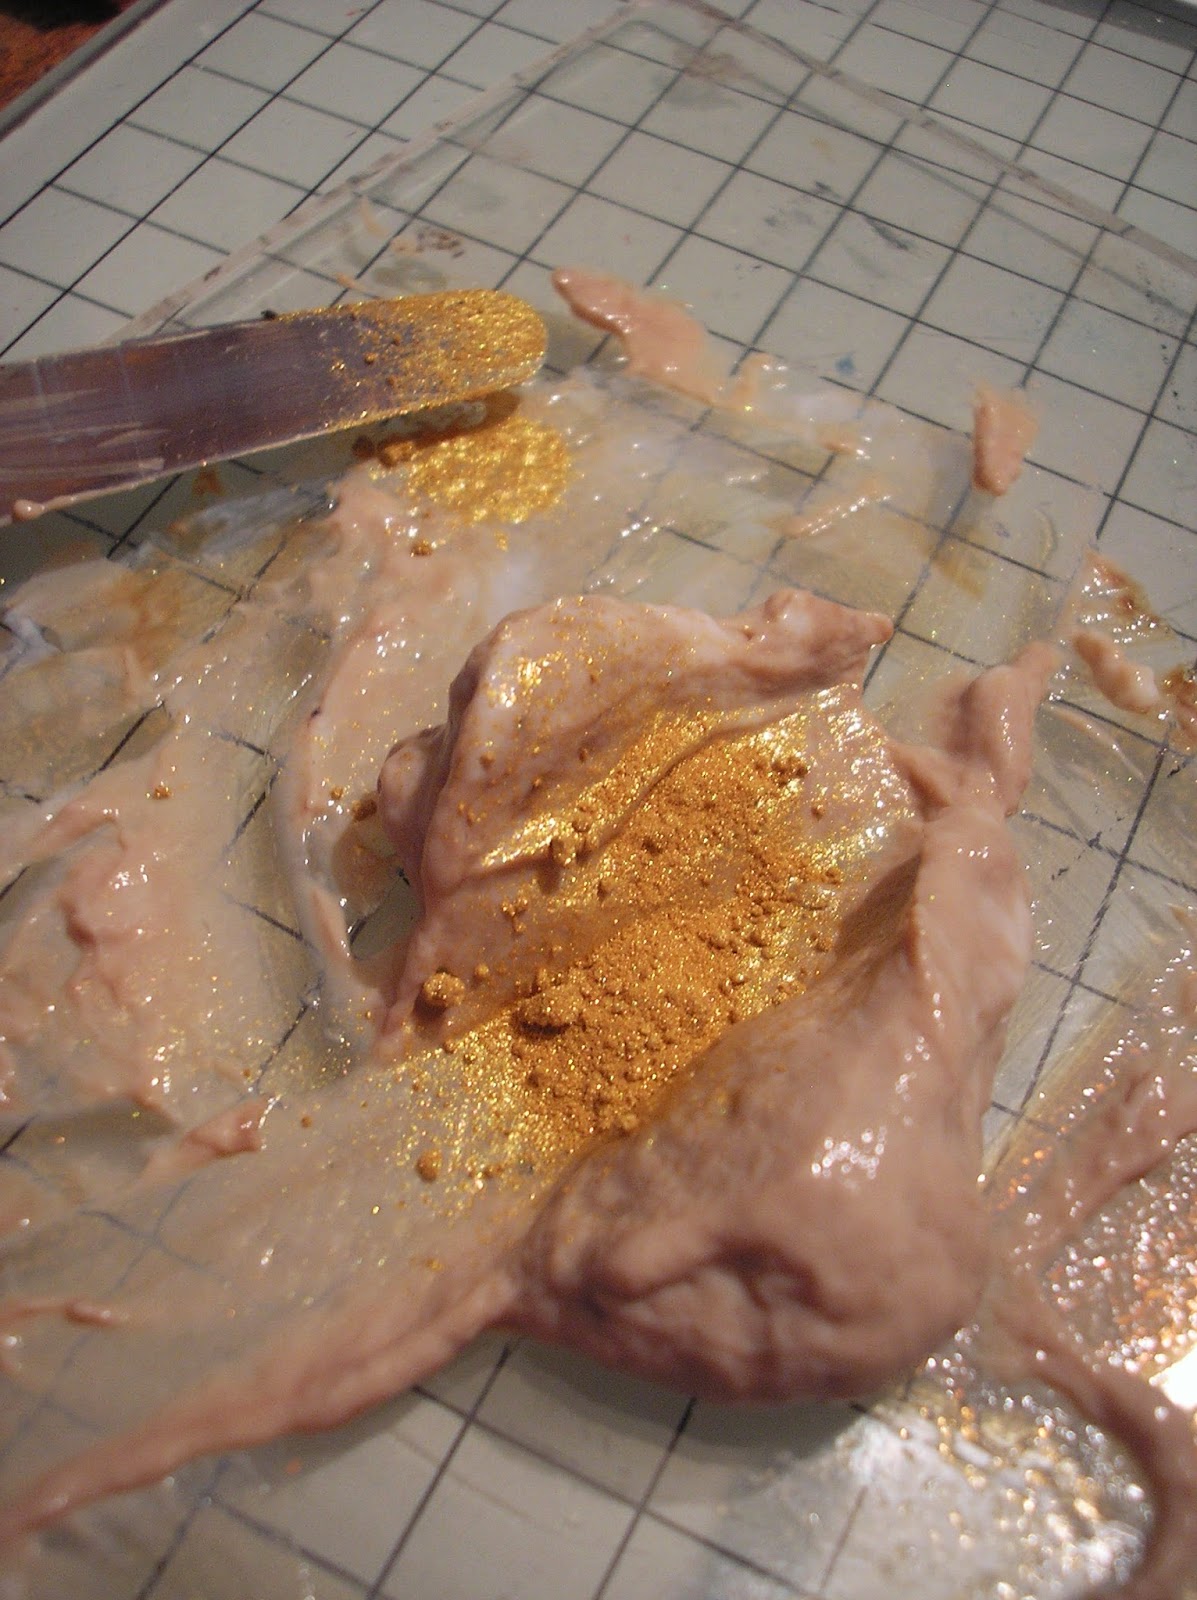
This time I used the frame of the smaller frame and the back for the larger frame, which are both included in the MDF frames kit. I painted the back with China pink chalk paint, then crackle glaze and Alice Blue chalk paint. For the smaller frame, I simple reversed the colours. I placed some of the Craft Consortium decoupage paper behind the smaller frame and made a rolled rose from the paper.

Tuesday 23 June 2015

Earring Holder


For my fourth project this month I made an earring holder - practical and decorative!

This is a really quick and simple project and makes a really smart last minute gift. All I did was cover an MDF frame with Craft Consortium decoupage paper in Dark rose. Then I stuck aluminium mesh to cover the back of the frame and knotted a little ribbon as a hanger. Voila!

Tuesday 16 June 2015

Hugs and Kisses

My third project for this month for Creative Expressions again uses an MDF base.


This time I painted the heart with Alice Blue chalk paint followed by Crackle Glaze and China Pink chalk paint. I ran a line of glue around the edge of the heart and then added Red Velvet Mica Flakes. I stamped a greeting onto a die cut and then added a Rose ribbon hanger


Tuesday 9 June 2015

Rose Tag

My second project of the month for Creative Expressions is an MDF tag


I covered the tag with Craft Consortium decoupage paper, stamped my sentiment onto a die cut and finally added a bow and a rolled rose made from crinkled edge rose ribbon

Tuesday 2 June 2015

Sending You smiles

Hi,
Its a new month of makes for Creative Expressions and something a little different for this month, we've been working with mdf shapes and chalk paints. Here is my first offering.


I used the back of an MDF frame, painted it with China Pink chalk paint, crackle glaze and then Alice Blue chalk paint. I stamped the Cherry Blossom stamp by John Lockwood , added a die cut and made some rolled roses using Craft Consortium Dark Rose decopage paper 

Thursday 28 May 2015

Thinking Of You


My final card of the month using Phil Martin goodies is this one.


The card is so simple, but the die cutting makes it into something special.
I used Spellbinders Bracket Borders dies on the edge of and A5 white card, then on Teal card and White once again. I stacked the two mats using foam on the edges and glue in the centre, to give dimension and a shadow at the edges. I cut the mat for my greeting from teal card using Majestic Labels Twenty. The greeting is from the Occasions Sentiments set. I embellished with a silky crush bow and  a Fancy Pearl Embellishment.

Thursday 21 May 2015

Just a Note

This month, the Creative Expressions DT are working with stamps and goodies designed by Phil Martin - if you haven't seen the range yet, it's certainly well worth a look as there's something there for everyone!

This is my card for this week


For the background, I simple sprayed Decadent Teal mister onto white card. When dry, I matted onto teal and white card and added Decadent Teal CS glue beads to the edge.


I used a Spellbinders Ornate Squares die cut from Teal card and stamped my sentiment onto a white circle. To finish I added a sheer ribbon bow and a square dazzler.

Thursday 14 May 2015

Framed

My second project of the month for Creative Expressions, using products designed by Phil Martin - the range is pretty extensive and co-ordinates perfectly.


The background for this card uses the Interlocking Circles Embossing Folder, I highlighted the embossing with Decadent Teal Gilding Wax. I matted using white card and added a strip of embossed teal card. I cut the frame and tag for my sentiment using Spellbinders Labels 28. The sentiment is from the Occasions Sentiment Set and is stamped with Peacock Feathers ink.


Thursday 7 May 2015

Tranquil Moments

Welcome to a new month of craftiness featuring Creative Expressions goodies. This month the Design Team have been working with Phil Martins products, which as well as stamps, includes embossing powders, texture paste, mister sprays, gilding wax, shimmer glue, Twinkles, glitter paste, and mica.

This is my first card for the month


For the background, I used the That Special Touch Fretwork Mask with Decadent Teal Texture Paste. I allowed it to dry and then cut panels so that the design formed symmetrical tiles. I mounted these with foam onto Teal card then onto white and teal mats.
I used Spellbinders Tranquil Moments dies to frame my greeting, which I stamped using the Occasions Sentiments Stamps by Phil Martin and Peacock Feathers Distress ink.
To embellish, I used white silky crush ribbon and made a lace flower which I coloured using the Decadent Teal ink Spray 


Thursday 30 April 2015

Yellow

My final card for this month for Creative Expressions


Once again, I've used the Daisy Corner set (Can you tell I love Daisies!)
For this card, I've made a worksheet for you to download and follow along. 
You'll find the worksheet here. Enjoy!

Thursday 23 April 2015

Happy Birthday

I'm back with another card using stamps by John Lockwood


This time, as well as the Daisy Corner stamps, I've also used the corresponding Striplet stamp. I stamped all my images using Peacock Feathers Distress and matted with teal card. For a finishing touch, I added Decadent Teal twinkle centres to all my daisies!

Thursday 16 April 2015

Birthday Bubbles

This is my third week using stamps designed by John Lockwood for Creative Expressions.


For this card I used the Butterfly Dreams set. I started by stamping the oval image onto white card using Peacock Feathers Distress ink. I stamped the image again onto scrap paper and cut out out to use as a mask. I placed the mask over my first image and then used the bubble stamp to add my background. I stamped each time twice before reinking to get a faded look to some of the images. I matted onto teal and then onto a white card and finally added Decadent Teal Twinkles to the bubbles.

Thursday 9 April 2015

Lazy Daisy

My second Creative Expressions card for this month once again showcases stamps by John Lockwood.

As with last week, I've used the Daisy Corner Stamp set. For this card, I simply stamped my daisy onto five scraps of brightly coloured card and cut them out. I stamped my greeting onto white card mounted with a strip of black card, matted onto black and then onto my white card blank - this brings the eye into the card and focuses attention on the coloured flowers.

Thursday 2 April 2015

A Carpet of Daisies

Welcome to a new month of inspiration for Creative Expressions. This month we are working with stamps designed by our very own John Lockwood


 My first card uses stamps from the Daisy Corner set.  What I've loved about this set is that it's so versatile; the main images can be used as focal points on your cards and, as I've done here, there are plenty of smaller elements to create your own background papers. The set also includes plenty of perfect sentiments to add the finishing touch.

Thursday 26 March 2015

A Rose

My final project for march and I'm back with a card this time. I've kept the design simple to show off the Vintage Rose paper and the die cuts.


The rose is from the Vintage Rose Collection


To colour the die cuts, I simply applied distress ink gently to the die cut with my blending tool with a dabbing motion and used my finger as a mask when I applied the second colour as I didn't want to run the risk of tearing the delicate cut by using tape to mask.

Thanks for stopping by

Thursday 19 March 2015

Love Heart

My third project for the month is a hanging heart decoration - it might be a little late for Valentines Day but it's never too late to tell someone you love them!


 I decorated the MDF heart using papers from the Couture Creations Vintage Rose Stack


The central panel was embossed using the Tied Together embossing folder


I cut the  flowers from papers in the stack using a Spellbinders die


 Finally, I added a Ribbon to hang the heart, and some scrabble tiles (that should make future games challenging!)

Thanks for stopping by

Thursday 12 March 2015

Live, Laugh, Love

Another project for Creative Expressions using new goodies from Couture Creations for you today.
This time I made a tag to be a fitting adornment to a special gift.

I started by applying papers from the  Vintage Rose Garden stack to my tag die cut.


I sanded the edges for a worn look


Next I applied Perfect Medium through the Damask mask


And embossed in gold detail


I added a die cut flourish to the top of the tag


I used the Couture Creations die to make some sprigs, adding some Distress ink to give definition


I added a strip of ribbon to the bottom of the tag and then highlighted the tad edges with gathered twigs


I also added Distress ink to a paper flower to match my colour scheme


To finish the tag, I cut some sentiments from the paper stack..


and finally added a bow

Thanks for stopping by

Thursday 5 March 2015

Butterfly

Welcome to a new month of projects using Creative Expressions goodies. This month the design team have been working with papers and dies from Couture Creations.


For my first project, I've primarily used the papers from the Vintage Rose Garden 6x6 pack. All I added was kraft card, a butterfly doe cut and some ribbon and twine. The papers are so pretty that it seemed only right to let them do the talking!

Thursday 26 February 2015

Bokeh

This week I've been working on a lovely technique to make stunning backgrounds - it's a little messy, but well worth the effort, I'm sure you'll agree.


I took pics as I went, and produced a worksheet for you to download or print so you can follow along. Here is the link enjoy!

Thursday 19 February 2015

Expensive

My third card for Creative Expressions this month uses stamps from to sets of singles. 
As I often do, I started with the background. I just splattered PVA onto my background card in a Jackson Pollock style! I teamed this with Roast Coffee as an accent. I matted my gold embossed image onto a Labels 4 die cut and cut my greeting using Spellbinders Fancy Tags. To embellish, I used Sue Wilsons Lattice Bow Die and an 8mm cream pearl.


Thanks for looking. See you next time.

Thursday 12 February 2015

You Know Too Much!

My second Creative Expressions card for the month started life as a Sparkle Texture paste background for a touch of glamour. I used black card to add contrast and then brought in an embossed background to frame it all (I used the Floral Brocade A4 folder and highlighted the embossing with deep red gilding wax) My greeting fit perfectly in the Spellbinders Petite Labels One and then all it needed was a bow and a dazzler!


Thanks for looking!

Thursday 5 February 2015

Chocolate

Welcome to a new month of stamps with Creative Expressions. This month we are playing with silhouette stamps from the Singles ramge.

For my first offering, I wanted to make a background that looked like a chocolate bar, so I foam mounted squares of Roast Coffee Foundations card onto my mat, then onto gold and Amethyst. I stamped using perfect medium and gold embossed them added Dusty Concord DI to unify the card.


Thanks for stopping by - see you next week!

Thursday 29 January 2015

Toby

My final project of the month for Creative Expressions sees the lovely Toby taking centre stage.


I started with a background using the Houndstooth mask with Black Soot Distress Ink onto Coconut White card. I also stamped Toby onto Coconut White and cut it with a circle die and inked the edges. I matted this onto a black Decorative Labels One and added a Lattice strap and bow. Finally I added my greeting and some bakers twine.

Thursday 22 January 2015

Charlie

It's the dogs turn this week for Creative Expressions. Today I chose to showcase Charlie


To start with, I mixed my own texture paste by colouring the clear paste with a little Distress ink in Gathered twigs and then adding mica powder. I mixed it thoroughly and then applied through


the tiles mask. 


The result is a lovely shimmery toffee like effect.


I stamped Charlie and painted him using distress markers - I kept the painting fairly loose to give the effect of his 'scruffy' fur.

To finish the card, I matted using Spellbinders Pearl Effects Dies

Thanks for stopping by.

Thursday 15 January 2015

The Triplets

Hi. Another card using the Cats and Dogs singles stamps from Creative Expressions for you today. This time I'm using The Triplets and the Cats Motto greeting


I started by inking through my knitted  mask with Distress ink, then I heat embossed with clear powder.


The embossing creates a resist.


Next I added a second colour to the rest of the background.


I stamped the triplets, added distress ink to the rectangle die cut and to the ball of wool. I also added clear embossing to the wool to highlight.


Finally I matted the topper onto my card using Timeless Rectangles die cuts..


and added my greeting and a Classic Itty Bitty Bow

Thanks for stopping by.