I've had this mannequin hanging around for a couple of years now - when I bought it, she was covered in satin and quite tacky bling, so I rescued her, stripped off the tacky and then abandoned her. About three months ago I covered her in ripped Macbeth pages and abandoned her yet again. Partly because I was sick of her falling off the shelf all the time and because I just wanted to get messy, I went at her yesterday with all sorts of inks, mists, glazes and such - mission accomplished, I got mucky and so did she. I think she has something of the Degas Little Dancer about her - without the £13 million pricetag!
Thursday, 30 May 2013
Wednesday, 29 May 2013
Inkyness
Yesterday was wet and miserable here, but rather than vegging in front of the box all day (as we did on Monday, watching back to back episodes of my current favourite programme Duck Dynasty) I decided to get crafty. I had nothing in mind at all, just a plain tag, so I got out some dies and grungepaper and let my project evolve.
My background is an embossed french script stamp, I then inked the tag with pickled raspberry, seedless preserves, and tumbled glass, masked, coloured and stamped. I cut the dressform body from adhesive foil tape and alcohol inked after embossing it. The wings were an image transfer onto grungepaper which I inked and crackled.
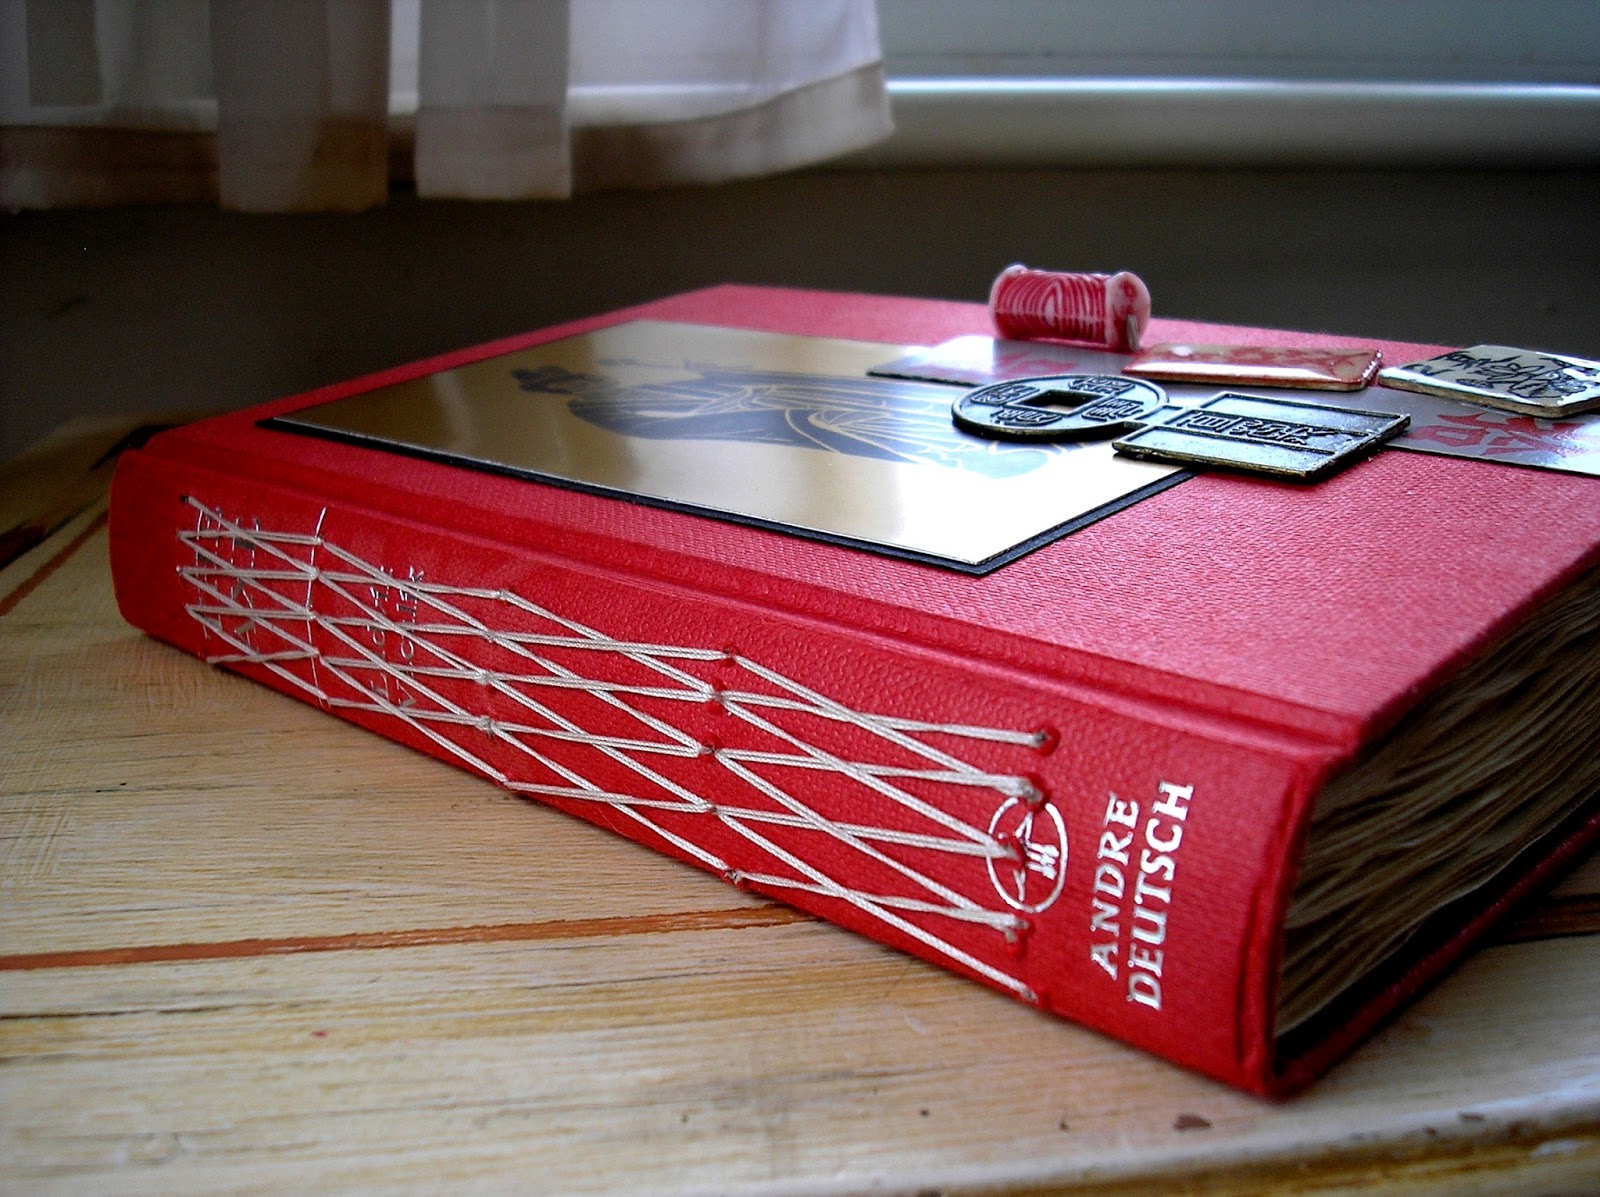
A couple of weeks ago I had a play with some diecut mountboard bookplates,. making antique metal effects with various embossing powders, so I now have a small stock of bookplates as embellishments.
My flowers and leaves are cut from old book pages - Romeo and Juliet to be exact.
Seam binding inked to match, scrunched and dried.
By the time I'd finished I was thoroughly inked myself - nothing new there.
Wednesday, 22 May 2013
First youtube
I've been threatening to make youtubes of my craftynesses for ages now and never seem to get anywhere. I tried to make an actual video, but lost the will, so instead, I've made a slide show type thingy; my first attempt had banners with descriptions, but the text extended beyond the frame (useless!) so I deleted that and redid it without. Well I've looked and looked but can't figure out how to add a caption - it must be super simples, but I haven't cracked it yet.
Anyhoo, my first youtube is now posted and it's gone viral - eight, yes, eight peeps have watched it!!! I made this mini for my sister's birthday - which is today Happy Birthday Heather. I used Steamtown Spring from Ephemera's Vintage Garden. For the cover, I modpodged the cover liner from the kit onto both sides of a piece of grungepaper. All the pages have top and side loading pockets for tags - the top loading tags are months of the year for recording important dates, and the side loading ones are for addresses. I added a magnetic closure flap pocket to the inside front cover and a top loading pocket on the back cover.
I also made a matching card
I'm now working on a couple of junk journals from this kit - I made one a couple of weeks ago but my daughter appropriated it!
Tuesday, 30 April 2013
Look who's 'helping' me craft today
I've adapted to Izzy helping me on the computer. She loves to come and walk all over the keyboard and press the buttons, - the other day she managed to reset the brightness with her front paws and it took tech support to rectify it! Well today she decided to help me craft, fortunately I'd only just sat down, so no glue, glitter and gunk were involved.
To my shame, I've let myself get behind with my cardmaking - my brother in laws birthday totally passed me by and his card ended up being almost a week late. I'm blaming the early Easter - it can't be my ineptitude after all can it? It's my mum's birthday on Friday so in plenty of time, here is her card. Quite simple, but I think it looks lovely.
TFL
Sunday, 28 April 2013
Adventures in bookbinding
I've developed quit a youtube addiction of late - all in the interest of research of course (although the hour I spent 'learning' why Michael Jackson is actually still alive is time I'll never get back and a tangent I sincerely regret) So I've been looking into different methods of book binding and also junk journalling and have been seriously inspired by Michelle at The Paper Addiction and Marianne at Pocket full of vintage. Last weekend I tea dyed a shed load of paper and yesterday bought some hardbacks to demolish for practice. This is my first attempt - Marianne recommends having a practice first on scrap, but my thinking was I'm an experienced sewer/cross stitcher/ papercrafter, how hard can it be - the answer? pretty hard (not enough hands being a major stumbling block) For all my hubris, practice would've helped, but I'm ok-ish with the results and I've learned from my mistakes and got a useful book to boot.
I had left the cover unadorned and without the fastening, it was meant to be rough and ready, primitive, but Ray snaffled it for his research, asked for a fastening and hinted at some form of embellishment. I made a hole, added a grommet and looped a hair band through the back cover, sewed a toggle type bead on the front for the band to attach to as a fastening and then added some oriental ephemera including some more of my art tiles.
Wednesday, 24 April 2013
Found in the attic
Well not really, but I wanted it to look as though it was. I started making this on Saturday and had it almost finished by Saturday night, but I've been faffing around with it ever since - now I'm stepping away and declaring it finished, mainly because I've stuffed it to the gills with 'stuff'.
It's largely made from the Shabby n Chic kit by Ephemera's Vintage Garden, I've added a few extras but not too many. The kit includes all the envelopes, reproduction adverts. tags and such. I distressed it to within an inch using ink and a distress tool to scuff the papers. The only thing missing is the musty aroma!
Sunday, 14 April 2013
Steampunk Debutante
This weekend I've been having a play with some remnants of one of my favorite paper collections - Steampunk Debutante by Graphic 45. I'm closely guarding the last of my full sheets (not sure what for, but it needs to be done - my name's Tracy and I'm a paper addict) but I still had the bits left from this lovely specimen. It's such a shame to see this beautiful paper sitting around, so I've created a paper bag mini; small in size though it is, it's a little tubby thing and it jingles and crinkles in a really satisfying way - don't worry, the men it white coats are on standby to confiscate my sharp objects.
Enjoy!
Handmade flowers and chipboard cogs.
A shot of all the inserts from the pockets - plenty of additional space for pictures and journalling.
Subscribe to:
Posts (Atom)